Wednesday, May 31, 2017

Smile


Hello Everyone, Shilpa here, 
I would like to share 2 ATCs with you, today.

Products used:
SinCity Stamps:
 Face view strand of hairline,
 Face Profile Line
Blank ATC's - 2 ½" x 3½"
Old Book page
White gesso
Black ink
Ink Sprays in brown color
Die cuts
Flowers
Enamel-dots
Adhesive
Heat gun


Step 1
Adhere old book pages to ATCs and apply white gesso to it.


Step 2
Spray various brown color inks on the ATC surface and dry with heat gun.
Stamp faces onto ATC's.


Step 3
Glue die cut flourish, flower and enamel dots to the ATC's.


Step 4
Make a double borderline with black pen.
 Sprinkle diluted gesso on the surface to create a interesting texture.

Thank you so much for stopping by.

For more inspiration, join Sin City Stamps Fan Group
Find all lovely stamps at  Sin City Stamps Store

Tuesday, May 30, 2017

Window to the Sea

Hello Friends,

I am building a card using bits and pieces from multiple stamp sets.  
I have so many stamps that I have wanted to use, I decided to take stamps from different sets to create one card.  
Thus I am able to justify to myself why I needed to buy so many different sets.
  (I know I am not the only one to feel this way. Right?) 
 I think this shows how versatile Sin City Stamps really are!


Supplies:
   Sin City Stamp Set - Mountain & Beaches
   Water Stamp
   Bird Stamp
   Sand Stamp
   Beach Grass Stamp
   Sentiment Stamp
   Brick Stencil
   Texture Paste
   Window Die
   Foam Tape
   Window Sheet
   Ink:  shades of blue, green and brown

Step 1:  Using texture paste, create a brick wall effect on card layer.  This will give texture to the card.
Tip* It helps to use re-positional tape to hold paper in place. 


Step 2:  Stamp water and sand on the layer that should be cut to be slightly larger then the window panes of the die.

Step 3:  Cut the window sheet to be slightly larger then the window pane openings.  Die cut the window out.


Step 4:  Ink blend over the water and sand to fully color the card layer.


Step 5:  Stamp beach grass in green on the sandy beach creating realism.


Step 6: Stamp the Sin City Beach Life Guard Stand and cut out.  (I used my electronic cutting machine for this step.)


Step 7:  I cut out the inside of the stand legs using a cutting blade and ruler.


Step 8: Color in the stamped image to make it look weathered.


Step 9:  Stamp a sea bird in black so that it will be seen through the window pane.  Tape the window sheet to the back of the window die cut. Using foam tape affix beach stand to layer.


Step 10: Using a double layer of foam tape to affix the window die over the card layer creating depth and realism to the scene.


Step 11:  Stamp sentiment to a co-coordinating banner and use foam tape to secure under window.

I think this mix and match approach to creating cards has opened many doors to new and exciting possibilities. (Can't wait to buy more Sin City Stamps!)

Share your mix and match projects with us using #SinCityStamps and here on their Fan Page.

X


Wednesday, May 24, 2017

One stamp- Four ways


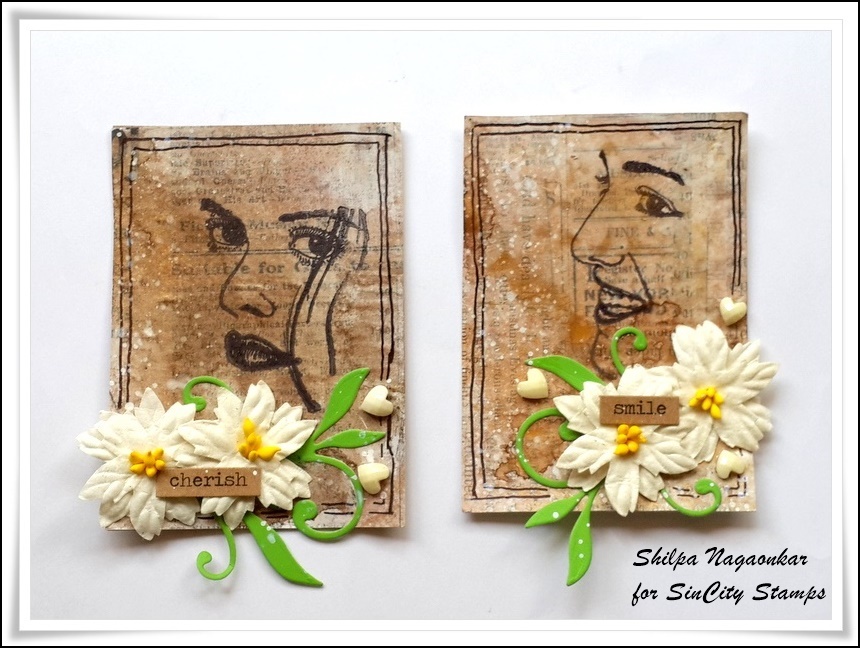
Hello my dear crafty friends and welcome to my Sin City stamping tutorial.
This time I decided to make 4 ATC cards with the very same stamp set and with 4 very different techniques.

Product list:
Sin City stamps: Dandelion Wishes with Butterflies

Other products:
White, black and Kraft cardstock
Vellum paper

Black pigmented ink
Clear, colorful and white embossing powder
Clear embossing ink
Heat gun
Colored mists
Gel Medium
Stencils
Texture paste
Gelatos
Acrylic paints
Crackle Glaze

 Step by step instructions:
ATC #1
1. Make two white cardstock ATC card, (2 ½ "x 3 ½")
 Stamp with the same stamp over both cards.
Use the black pigmented ink and heat emboss with clear embossing powder.


2. Use large acrylic block and mist it with 3 or 4 different colors.


3. Wipe the stamped ATC card over the misted block.


4.  Stamp a few butterflies, then using the clear embossing ink, heat emboss them with a mix of colorful embossing powders and glitters.

Hand cut the butterflies.


5. Glue a couple of hand cut vellum stamped butterflies over the first card.
Use a stencil to add Gel Medium over the card.


6. Stamp the small words with Sin City stamps and hand cut one to add over the first finished ATC card.
Ink the edges of the card with paint or ink.

 ATC #2
7. Mist the second white cardstock. Stamp the card. Add color with three different mists directly onto  the card.
As you can see we have a different background with this technique.


8. Use another stencil to add Gel Medium over the second card.


 9. Glue the stamped vellum butterflies over the second card and add another stamped word.

 ATC #3
10. Stamp more images over black cardstock ATC card using clear embossing ink and white embossing powder.


11.Paint over the textured ATC card with Gelatos. Wipe the color with baby wipe to create circles around the flowers.

12. Add some texture with a stencil and white texture paste.

13. Ink the edges and glue two vellum butterflies. Glue the stamped words.


ATC #4
14. Stamp  in the same way as on ATC #3 over Kraft cardstock.


15. Paint over and around the stamped images with acrylic paints.


16. Add a thin layer of Crackle Glaze over the card. Let the glaze dry.


17. Glue a butterfly and the stamped words.


So here all 4 ATC's  together and to tell the truth- I'm not sure if I like one more than the other... 
I think that the black is my favorite, but as you know we all like different things.
So just go and try each and every technique and have fun!

Don't forget to share your Sin City Stamps projects on our Fan Page!

Tuesday, May 23, 2017

Who's to say where the wind will take you

Mo here today on the Sin City Inspiration team blog,  sharing my art journal page "who's to say where the wind will take you".
 I love that sentiment and it made me think of traveling in a hot air balloon, in a perfect blue sky of course......


Supplies used:
Sin City Stamps sheets:
Water based ink sprays in purple and blue
Gesso
White thread
Modeling paste
Circle stencil
Crackle Paste
Water proof stamp ink in black
Waterproof marker in black
Acrylic paint in brown and black
Water Spray bottle
Inktense pencils
Metallic paint in gold
 Step 1: Add a layer of gesso over the page, cut some threads  and place them around the edges in a swirly way. Use another layer of gesso over the threads and then let dry until the threads are adhered to the page.

Step 2: Use the waterproof stamp ink and the Faded page word stamp to start creating a background.

 Step 3: Dilute the gesso with water and go over the page so the impression of the stamp will be in the background.
 Step 4: Apply modeling paste through a stencil around the edges, Let dry

Step 5: Apply crackle paste on all edges around the spread partially covering the circles that where made in step 4.
Let this dry.
Step 6 : Spray some blue ink in the middle of the page, then spray some water and move the journal around to let the ink run over the page. Let dry when you are happy with how it looks.
 Step 7: Spray purple ink around the edges.
 Be careful to not let it run into the middle of the page but allow it to run around all textures ( the thread, modeling and crackle paste).
The ink will move easier if you spritz it with water.
 Step 8: Experiment a bit with the mister and the water to get the result you like.
If you have too much ink use a baby wipe to dab it off.  Spraying with the water bottle will give it a nice water drop effect .
When you are happy with your background, set it aside to dry.
 Step 9: Use a waterproof ink to stamp the Balloon and the sentiment.

Step 10: Use pencils to color the balloon.
Using a pencil, sketch some seagulls above the sentiment next to the balloon , then use a waterproof marker to give them detail.


Step 10: For the border, make a wash using brown and black acrylic paint mixed with water.
Paint this over the crackle.

 Step 11: Finish the page by adding a little gold metallic paint to the edges.


Here some pictures of the finished page


Thanks for visiting.

Here's our quick links to find even more inspiration and to grab your own Sin City Stamps:
Sin City Stamps Store
Sin City Stamps Facebook Group
And you are here at "The Blog" but make sure you keep checking back - even better "follow" us so you don't miss any of the Inspiration Team postshttp://sincitystamps.com/dandelion-wishes-with-butterflies-art-rubber-stamp-sheet/

Copyright Text

Blank Page Muse 2018 Sin City Stamps 2013