Thursday, February 26, 2015

Art Journal Canvas


Friday is here again and the weekend is near! For my fellow artists & crafters I am excited so share my mixed media art journaling project. This is my second project to share since becoming part of SinCityStamps Design Team (DT).
For this project I decided to make a canvas and use the Art Journal Rubber Stamp set by Terri Sproul that can be purchased from http://www.sincitystamps.com.  I hope you enjoy this project and join in the fun by making your very own. 

Supplies List:
  • facade (surface): 8in X 10in Artist Loft Canvas (20.3cm x 25.4cm),  # 8 manila tags and vintage ephemera
  • distress ink: gathered twig
  • archival ink: watering can, red geranium and black
  • embellishments: mini gears, ruler ribbon, buckle, brad, metal corners, compass coin, mini corners, mini numerals, long fasteners, mini fasteners, and alpha letters.
  • adhesives: matte finish spray, matte medium, glossy accents, double sided tape and pop dots
  • tools: craft sheet, mister, heat tool, scissors, ink blending tool, ripper, paper cutter, and craft pick.
  • stamps used: Art Journaling Rubber Stampset by Terri Sproul
Step 1: We will start out this project by taking a canvas, vintage ephemera, and tissue tape to start the background on the canvas

Step 2: Let's start off by running some tissue tape across the lower part of the canvas and upper left corner.
Then we are going to take gathered twig distress ink (you will come to learn this is one of my favorite colors- I use it in all of my projects) and cover the canvas.
Step 3: Now that we have the background of the canvas started. We will now create the water drop effect onto the surface of the canvas.  Take a water mister and by water into the palm of your hand; then flick the water onto the canvas.

Using your heat gun start drying the canvas and blot up the remaining water with a cloth or paper towel.
Step 4:  Now we need to seal the canvas because distress ink is reactive with water (or water based solutions).  So we need to seal the canvas before we start attaching ephemera to the background.  
For this step we will use Matte Finish spray by holding the canvas and spraying the entire canvas.  Then set the canvas aside to allow for it to fully dry.
Step 5:  Our next step is to take more tissue tape and vintage ephemera and apply this to the canvas. We first want to start by placing additional tissue tape directly onto the canvas.
 Step 6: Then take Matte Medium and cover the canvas.  This will allow for the ephemera to sick to the canvas. The Matte Medium will also serve to seal the tissue tape onto your project.   When applying the matte medium to your project use a foam brush or sponge.
Step 7: We are now going to start placing the vintage ephemera onto the canvas and then using matte medium apply that over the top of the ephemera.
Step 8: 
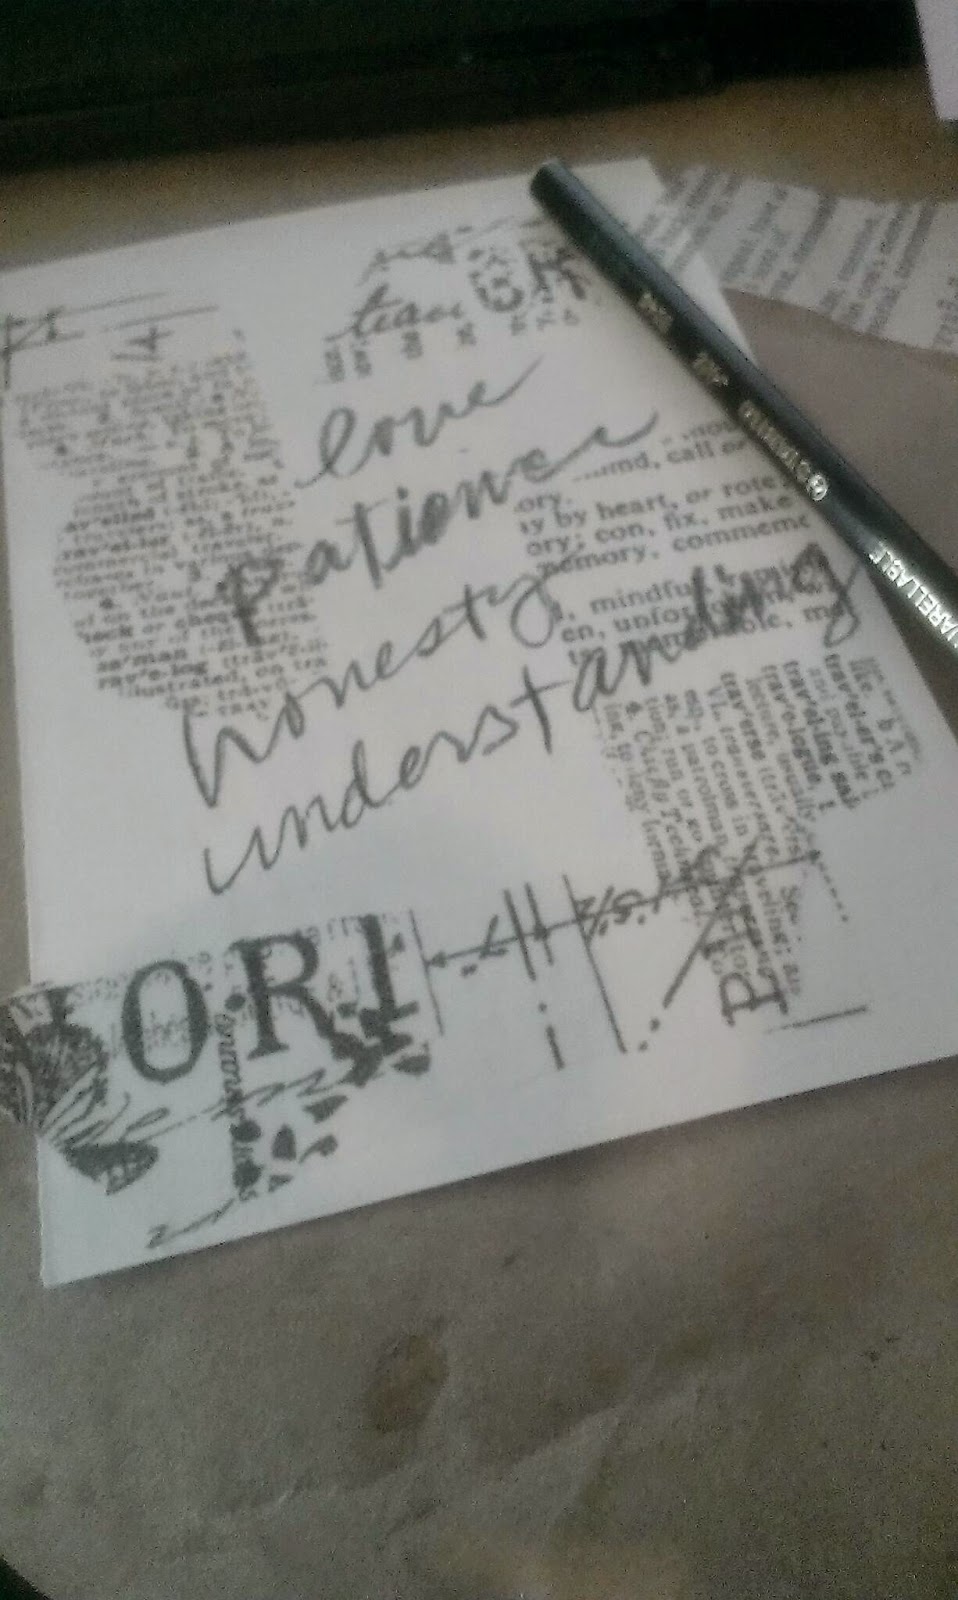
While that dries we are going to take a #8 manila tag and using a stamp from the Art Journaling set we are going to stamp it onto the surface of the tag using black archival ink.

Step 9: Now take the tag and cut it down to the size of the stamp.  Allow for enough room at the edges so we can use a paper distresser to rough up the edges. 
Take gathered twig distress ink and dirty up the stamped area by using a ink blending tool.
Step 10: Using a paper distresser rough up the edges of the stamped image.  We will now take Tim Holtz idea-ology label letters and place a saying onto the stamped image. 
We will then apply some gathered twig distress ink to dirty up the edges.  I finished it off by adhering it to the canvas with idea-ology long fasteners.
Step 11: Now let's take some ephemera and use the "Journal" stamp. Stamp this saying onto ephemera paper by using distress embossing ink.  Then using embossing powder cover the stamped image with the embossing powder.   I used the Watering Can embossing powder and then used a heat blending tool to create the embossed effect.
Step 12: Take the paper and tear off the sides around the embossed journal word and dirty up the edges by using an ink blending tool.  I then took some embellishments to add further dimension to anchor the corners (I used mini gears).
Next we will apply this to the upper left corner canvas by using double sided tape.


Step 13: Now select another stamp from the Art journaling Rubber set and complete Step 8 & 9 with a different stamp to create a similar affect.
I then placed this behind the other stamped piece on the canvas with double sided tape.
Step 14:  I then continued this process of stamping and adding further detail on the canvas.
Step 15: The final step was to take some ruler tape and a buckle to add further dimension to the piece.   I then continued adding embellishments onto the canvas.
You will continue this process till you feel your project is complete.  Here is a picture of my finished piece.

If you have any questions don't hesitate to leave me a message on how I finished off this project by use of embellishments or stamping.
 
Thanks for checking out this fun canvas project and if you don’t have the Art Journaling stamp set go purchase it today. YOU WONT REGRET IT! 
 
This is a must have and will be a great addition to your very own craft stash.

Check out the store today http://www.sincitystamps.com there is such great stamps, stencils and products that you can chose from that will be great additions to your art space.

Trent-TMCreative


Wednesday, February 25, 2015

High Flying Fun!!

Hello All Lanette Here!

Today I am going to share some high flying inky fun with you! First lets take a look at my tag and

Here is my finished tag:
then I will show you how I mad it :)

Sin City Supplies Used: Art Rubber Stamp Plate- For Him Collection

Other Supplies Used: Ranger - Tag, Archival Ink. Tim Holtz- Die, Embossing Powder, Distress Stain, Distress Ink & Blending Tool, Stencil. Spare Parts- Flower, Ribbon. Prima -Stencil. Faber Castell- PITT Marker. Mister Hueys Mist. Vellum.

Now lets look at my process......

First I started by building my tags background. Using my craft mat as a plate I laid down a mix of Distress Stains. After spraying my tag with a bit of water I dragged my tag through the color creating that fabulous vintage background.


After my tag was dry I  added a fun steampunk stamp from the For Him Rubber Plate. I used Archival Ink because its waterproof and I always stamp on a foam pad to help ensure my images come out clear.


Next I added a layer of texture using some distress ink and a Prima Stencil, just a bit here and there nothing too deliberate.


Now I just had to add a bit of sparkle after all she is a lady! So I added a bit of Mister Hueys Gold Mist through a Tim Holtz stencil.


Finally I finished my tag off with a bit of ribbon that I colored using my left over Distress Stain. Also I added a bit of pop to my ribbon by stamping it with this fun stamp from the For Him Rubber Plate and a PITT marker.


Thank you so much for stopping by today!

I hope that I have inspired you to have some inky fun of your own!

After all time flies! You gotta get inky when you can!

Remember to like us on Facebook and stop by the store for all your stamping needs!!

As always feel free to stop by my blog Stacks of Scraps anytime!

Sunday, February 22, 2015

I DO BELIEVE IN FAIRIES!!

Do you believe in fairies?  If you do, you will LOVE the Anime Fairies Stamp Sets at SinCity Stamps!  There are 2 different Anime Fairy sets to choose from, in addition to other Fairy sets!  Awesome!!
Anime Fairies 2 set

I used a watercolor effect technique.
SUPPLIES:


I gathered my supplies and picked markers and papers with complimentary colors.

I sprayed a lot of water on watercolor paper.  Then, I dipped my marker in the water.  As you can see, the small amount of ink instantly spreads in the water.  When you are done dipping your markers, just rub them on a clean piece of paper and you will see the marker is good to go.

You see how awesome the colors swirl into each other in my extreme close up :)

I love how there are some areas where the colors collided and left a water line.  Other areas are just really nicely swirled colors.  That's the fun of this technique.  You never know what you will get!
I stamped directly on top of the dried "watercolor effect" paper and cut my fairy out.  I LOVE the waterline in her!  It looks like she is behind a shadow, looking out.  If I tried I couldn't get this effect!  I put her on some gauze, to keep her looking soft, and used foam squares to adhere her to the card.  I glued the butterfly on the body only and folded the wings up.  Butterflies and fairies always leave a little fairy dust behind so I added some glitter and a trail of rhinestones.

Thanks so much for visiting!  Please visit the SinCity Stamps site and get some fairies of your own.  You know you believe!!


Friday, February 20, 2015

Save The Date.. Card wth Tamiko


Happy Friday!!  Today's post is a Save The Date- card I created for my baby brother Ian and fiance Jean, for their upcoming wedding on June 14th, 2015, hence the VI- XIV- XV.   I have the Clockworks Inspired by Terri Sproul Rubber Plate and I was convinced that my first post using this stamp set WOULD NOT be a CLOCK as it is perfectly geared for.  
::chuckles at pun::  Well here is the card.


Below is a picture of the supplies used to create the card front. 
  • Sin City Stamps- Clockworks Inspired by Terri Sproul & Pattern 2 Stencil by Terri Sproul
  • Liquitex Matte Medium
  • Deco Art- Media Line Titanium White Fluid Acrylic and White Gesso
  • Deco Art- Americana Multi-Surface Satin- Canary, Flamingo, Iris, Deep Turquoise
  • Strathsmore 400 Series Mixed Media Paper (not seen)
  • Stazon Ink Pad-  Gothic Purple
  • Beacon 3 in  1 Adhesive
  • Stabilo ALL pencil in black
  • Misc. - brayer, paint brush, baby wipes and Tim Holtz Tissue paper (from stash not seen)


I started out with a piece of mixed media paper and some small pieces of Tim Holtz's  tissue paper.  I planned to put that on the page with the matte medium.


I then wrote some things I wished for my brother and his wife to be.  I picked this up from a great artist name Amanda Trought of Reality Arts.  To me it's almost like praying or wishing positive thoughts into the piece.. or in this case.. this milestone event.  I wish them love, patience, honesty and understanding.  I wish them so much more, but at the time, these things came to mind first.  I chose the stabilo all pencil because it is water soluble. so this will smear and fade and no longer be visible as my layers build. (smile)  But you and I know it's there.. :)  Next to it is how the page looks once I apply a little watered down gesso.  See message is gone.. but NOT forgotten.. :)


Then I began to brayer small amounts of acrylics in layers, first the canary and deep turquoise.  I dried it and added a bit of gesso because of what I wanted to be able to do with my next layer of acrylics.. this flamingo and iris that I brayered on.  Not a cute stage.. but it looks like I want it to!!


After that layers was down.. I took my Pattern 2 Stencil by Terri Sproul and a baby wipe and  rubbed  some of my layered paint off. (smiles)  A while ago I would have thought I was wasting paint, but when I think about how much I actually used, to achieve the yumminess I am about to disclose...  It's SOOO WORTH IT!!  (smile)


Then I took my Purple Gothic Stazon ink pad and inked my stamp from the Clockworks Inspired by Terri Sproul Rubber Plate .  I gently placed even pressure on the acrylic block after deciding placement of the images.  


After my images were all placed and the card and my edges were all lightly inked.  I decided to use that Beacon 3 in 1 Adhesive and check it out!  Thanks again BEACON!!


The last thing I did after mounting the card front to the card base was a few quick splatters with my small round paint brush, a drop of fluid acrylic and a drop of water.  That ties in my base card with my front image.


Well I hope you like this tutorial along with a show and tell of my brothers save the date wedding card.  Don''t forget when you are shopping for stamps and supplies, you should ALWAYS have an all occasions type set that allows you to be prepared to CREATE with LOVE for those YOU LOVE.  


You CAN do that shopping at SIN CITY STAMPS!  

Wednesday, February 18, 2015

Blessed are the easy cards

Hi everyone, Sandee here with a easy peasy grunge card using the TIME Rubber Plate stamp set.
Because, as the sentiment states I am..."too blessed to be stressed" ...and sometimes you need to be able to whip out a card quickly and easily without any stress!


The base paper for my card is made using my Arnold Grummer Papermill kit which in itself, with it's soft deckled edges gives you a wonderful distressed feel. I used Ranger's Wild Honey Distress Ink to stamp the large background stamp that comes in the set to create the front of my card. With all the detail in this stamp you don't need to add anything else to it.

When I send a card in the mail I really like to add something extra to the front of the card to make it special. I used the same supplies, keeping it simple was my motto today!

After stamping the sentiment and the clock slightly offset I used my Koi water brush to spread out the Wild Honey color to give the envelope an aged look. 

So there you have it, one great stamp set = one fast and easy card to make!
Thank you so much for stopping by to visit! 

Monday, February 16, 2015

Fairy Wings

 
Hi Chris here today sharing this adorable layout using Sin City's Anime Fairies 2 and Sin City Stencils Pattern 20  For this layout I used
 
Copic Markers ( E00, E31, E33, E37, Y 11, Y15,  Y21, Y26,  B21, B24, V01,V06, G24, G28, colorless blender)
Vellum (WordWin)
Graphic 45 Secret Garden
Ranger Stickles
Mounting tape/strips (Elmer)
Cardstock (WorldWin)
Staz-on Ink (Jet Black)
Versamark Ink
Sheer ribbon
 
 
To create this layout I first fussy cut out the interior of the Secret garden paper to create a floral overlay.

 
You will notice that at first I had the little girl left in.  After laying my whole project out, I decided to fussy cut her out of the layout. I placed the fussy cut floral overlay onto the card stock background and lightly marked where the floral overlay would sit. I then used the  Sin City Stencils Pattern 20 and used Versamark embossing ink to create the background.


I printed my journaling block and attached to the background cardstock and then added my photo.  I attached the floral overlay using mounting tape and strips so that there was some dimension to the layout.  I added a ribbon strip and bow to the layout along the bottom.
 
I then stamped multiple fairy images onto vellum using Staz-on Ink. I stamped 5 of what I call the "buttercup fairy", one of the fairy bust with the hair wrapped around, several of the butterflies (but only used one) and one of the Fairy torso with her hand over her heart.  You can see the exact images in the posts below.  


I then turned my vellum to the back side (the side not stamped) and colored in my images with Copic Markers. A few hints about coloring on vellum- the colors show up a bit lighter than you anticipate so you may want to choose a darker shade, if you go outside the lines its ok, just use your colorless blender to remove the ink. I did not due any fancy shading with the Copic markers, but I did add 2-3 colors on the hair. 


I then fussy cut out each of the images. 


I added the fairies and butterfly onto the layout.  Since the vellum is see thru, I was able to used the back side of several of the images switch the way the fairies were facing.  I added stickles to the wings of the fairies for a little fairy dust.  And here is the final product.  I love how the fairies are see thru, it makes them seem more magical.


Copyright Text

Blank Page Muse 2018 Sin City Stamps 2013